So those who have been following me on Instagram or Facebook have seen that I have a beautiful homemade flower wall at home now in my studio. Flower walls have been used in weddings and portraits for creating a gorgeous and unique backdrop and I figured my studio needed this ASAP. Even though I am not crafty at all…
I made some mistakes in the process and learned from them, so I wanted to pass along my tips on how to make your own custom flower wall and give some advice on how to do this and still keep your sanity.
First up you’ll need the supplies:
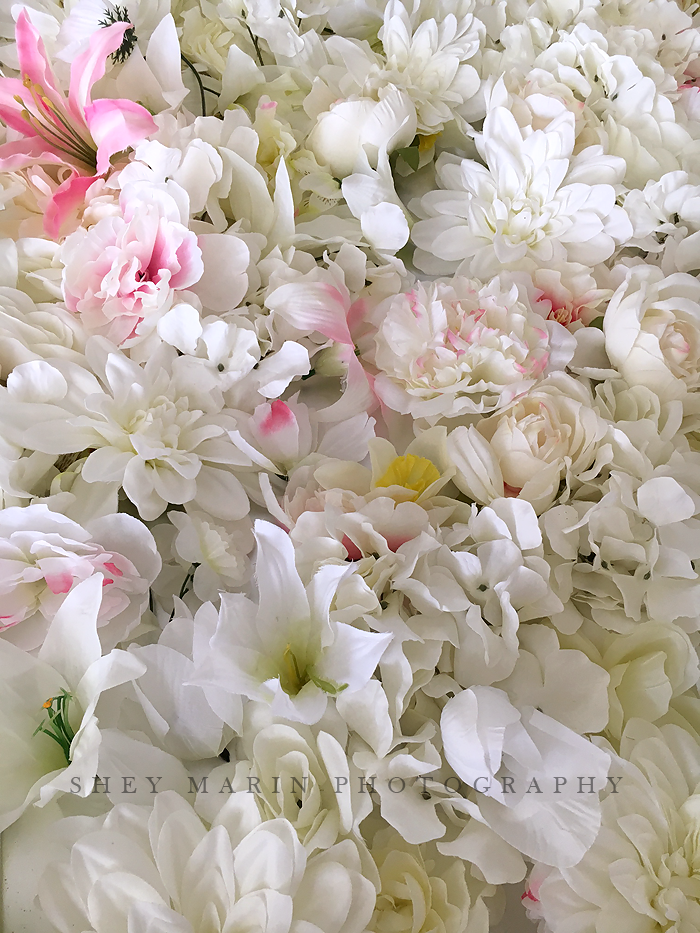
– lots, and lots, and lots, and lots of silk flowers. I went to the dollar store and bought every single white, cream and pale pink flower they sold. Then I went to two craft stores( michaels and joanne’s fabrics) and bought a few select large white silk blossoms (use their app to get coupon codes because they can be expensive). All in all I spent over $200 on the flowers, so this is not an inexpensive project let’s be clear.
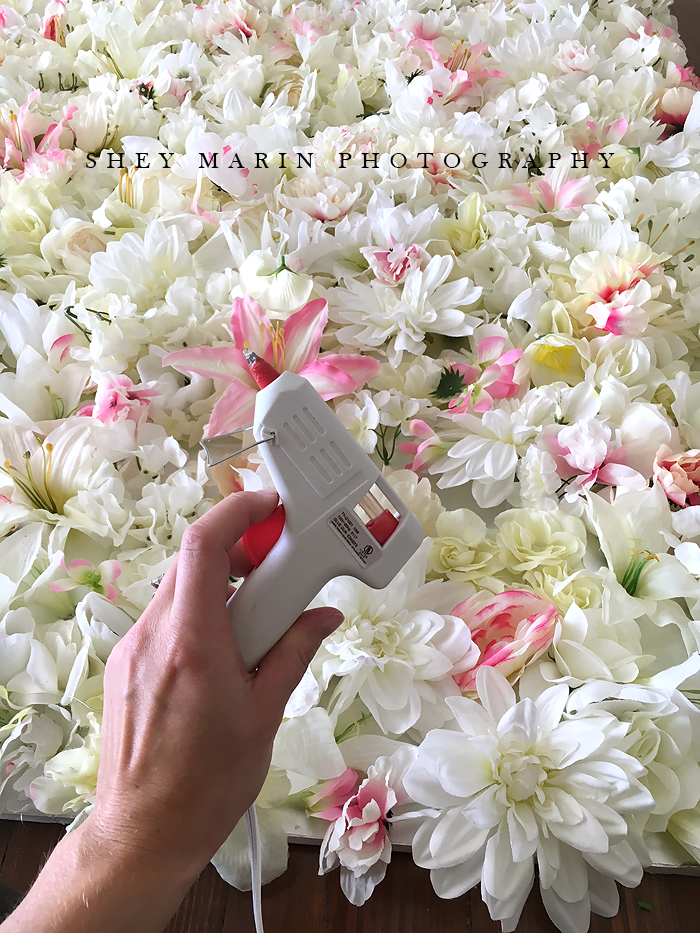
– glue gun and extra glue sticks
– an insulation board from home depot or lowes. LIKE THIS I’m not sure why it is saying it is 3 1/2″ thick, because the photo and mine are definitely more like 1/2″ thick, but this link is basically what I have. This is sold over in the wood section (usually on one of the ends of the store). The insulation sheets are light weight and usually have a silver side on one end and are about 8′ long. It was too long to put in my car, which I didnt realize until I had purchased it, walked outside on a windy afternoon, and had it blow me over like a sail. Some kind man came to my rescue and whipped out his exacto knife and scored about 3′ off of the end and broke it off easily. Then I could fit both sides in my car. Clearly this would have been better if I had had a vehicle that could fit this in whole – like a pick up truck or something huge. SO FYI!
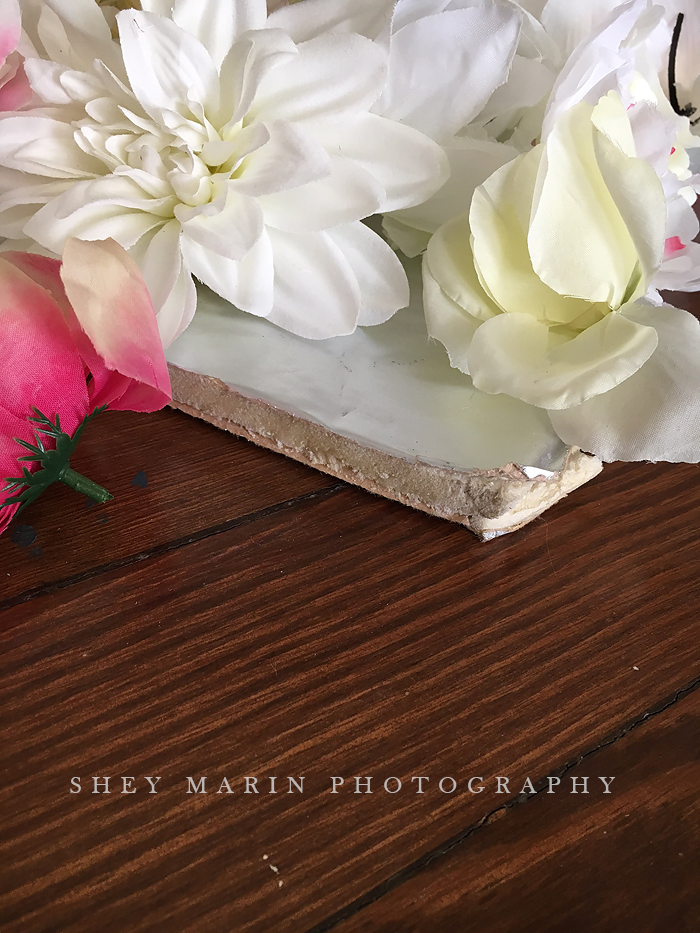
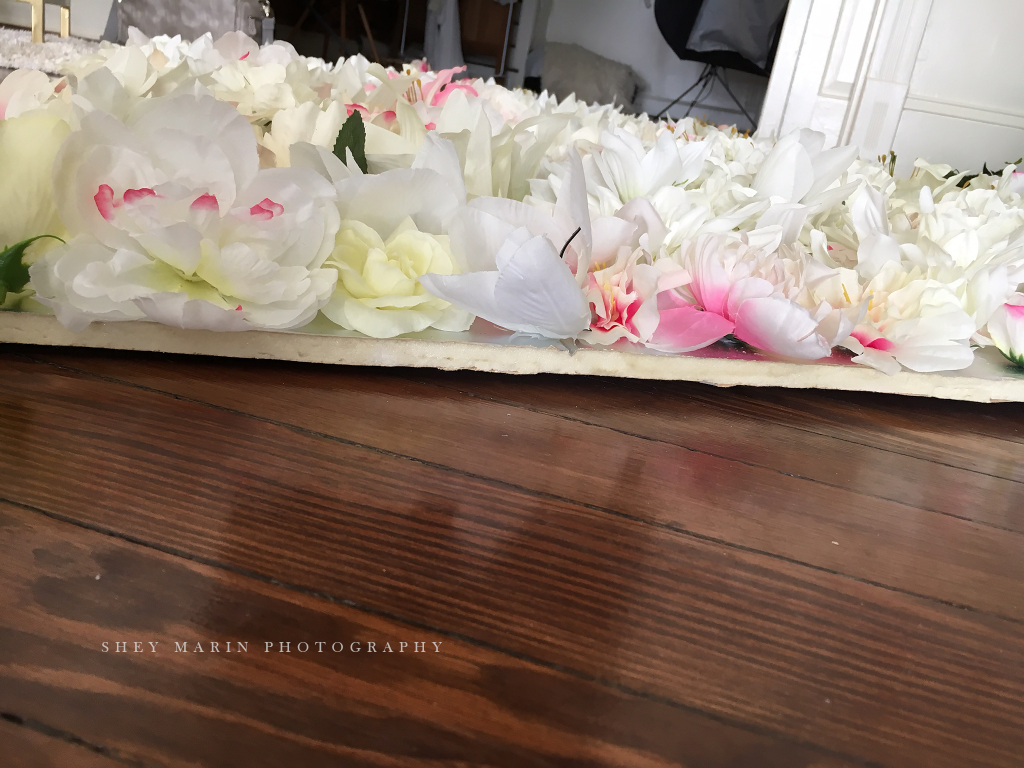
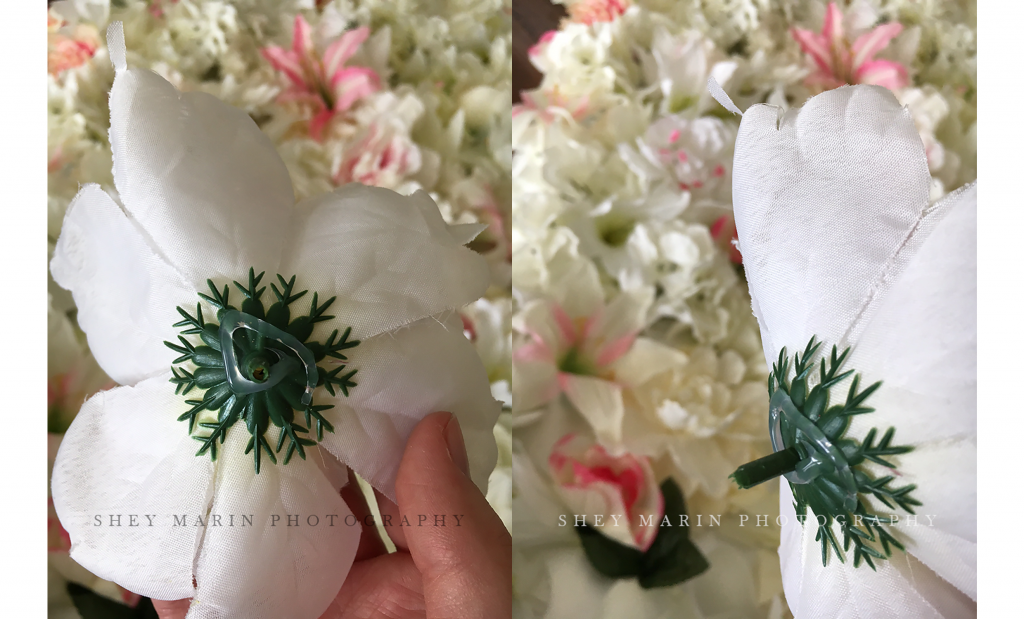
First step is to separate the flowers from their stems, and sort into piles by color. I started by cutting them off of the stems which was brutal on my hands, and as I discovered totally unnecessary because the flowers just slide right off of the stems if you pull gently. Wish I had figured that out before I destroyed my hands…
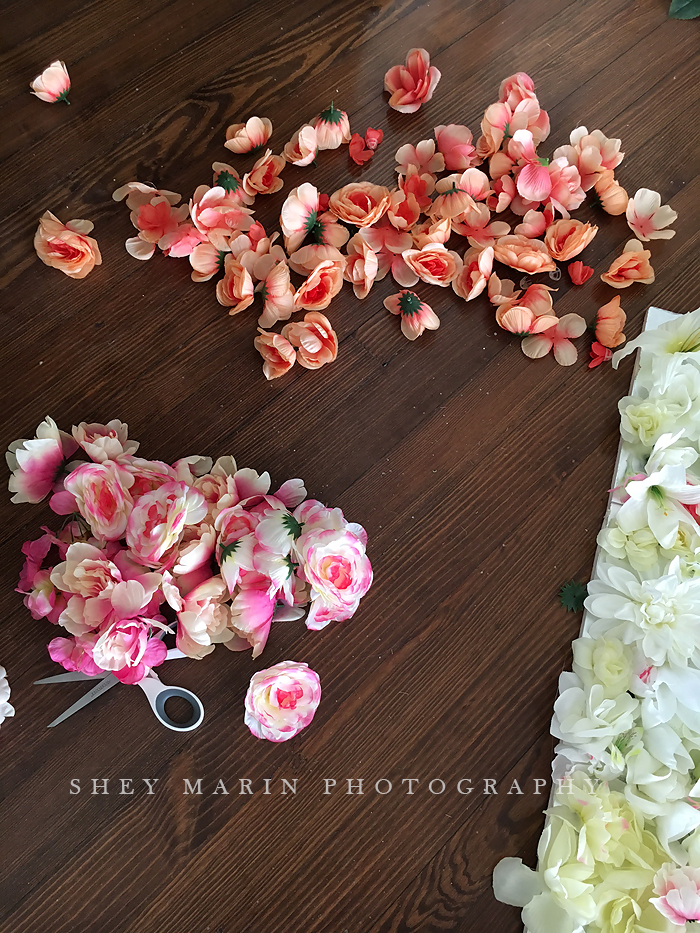
Please excuse my creepy foot here – these are random iphone snaps!
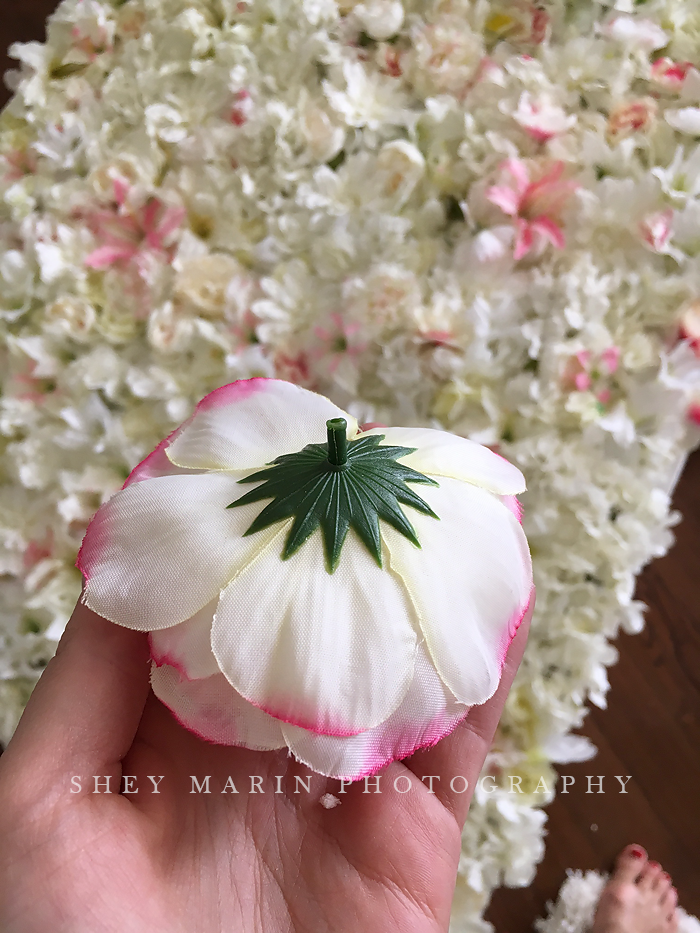
Next start by arranging them on the board to make sure you like the final design, and that you have enough flowers.
Starting on one corner edge and working in lines horizontally, pick up a flower and add some glue to the bottom. I liked to pierce the insulation with the stem when possible, as it added a bit of stability, but not all flowers had a stem that could do this. Also try to avoid being like me and dont get glue all over your fingers.
Keep going in rows and sliding along to another side and corner as you go, until you’ve hit the center.
Pick up the board to make sure none of the flowers on the flower wall need to be re-glued, and you’re done!
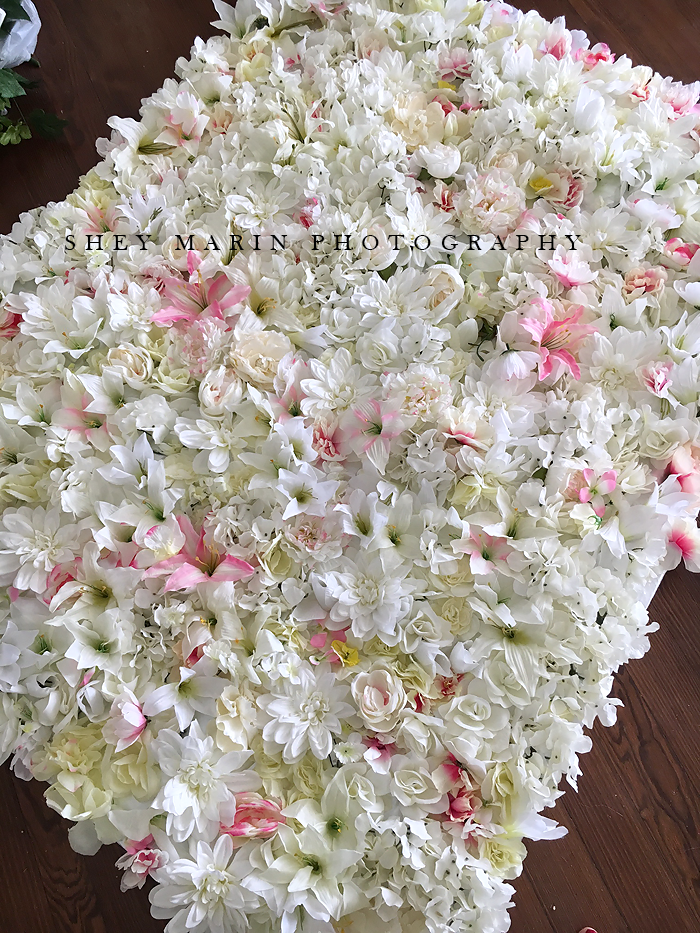
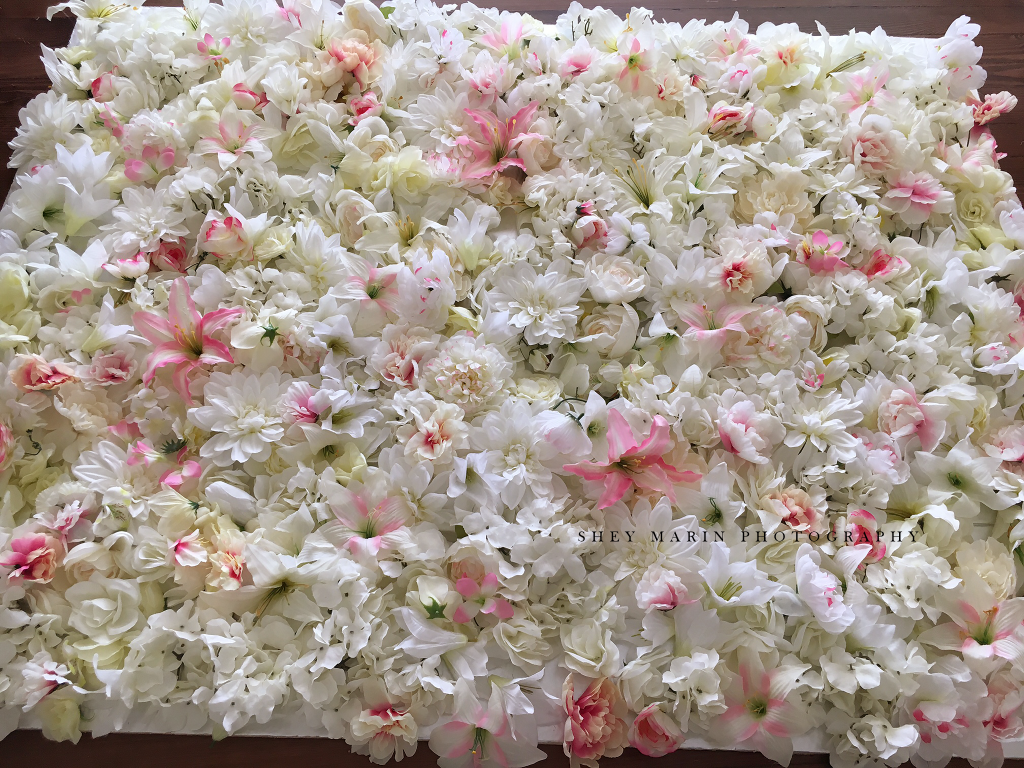 This is still lightweight and stable when standing, so it easily leans against a wall or you can clamp it to light stands to add extra support. I put a white faux floor backdrop underneath to keep it light and airy, and here is the final look:
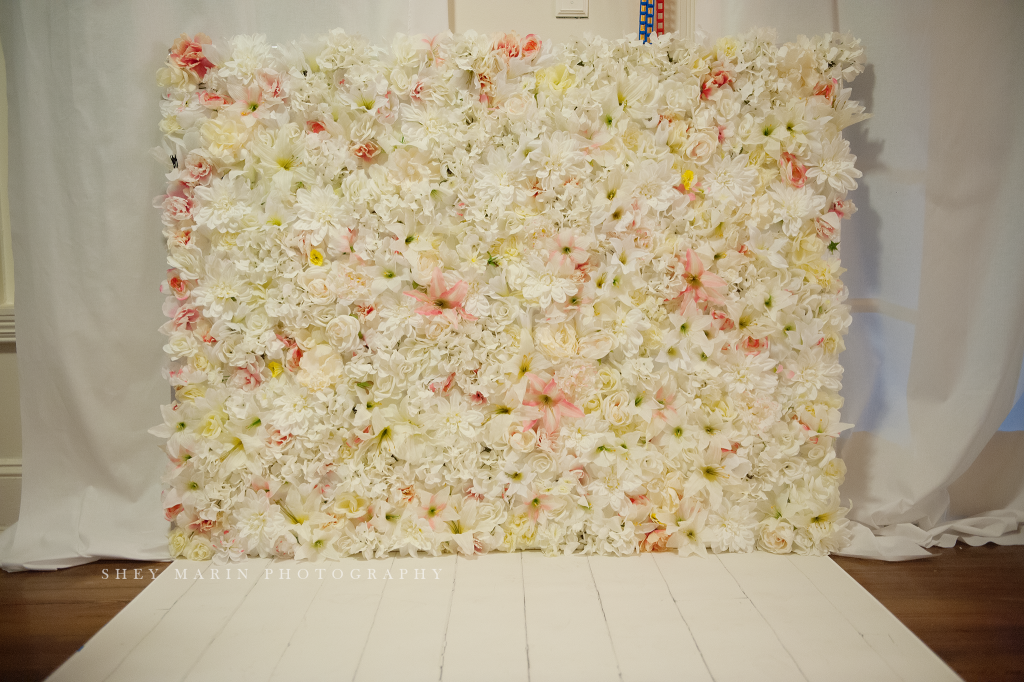 In hindsight I should have made the flower wall even wider but I ran out of flowers (and space on the board). I may go back and buy more flowers and do it again on the leftover 3′ piece of insulation from the main board, and add that on for sibling shots or older kids where I’d need a larger frame.
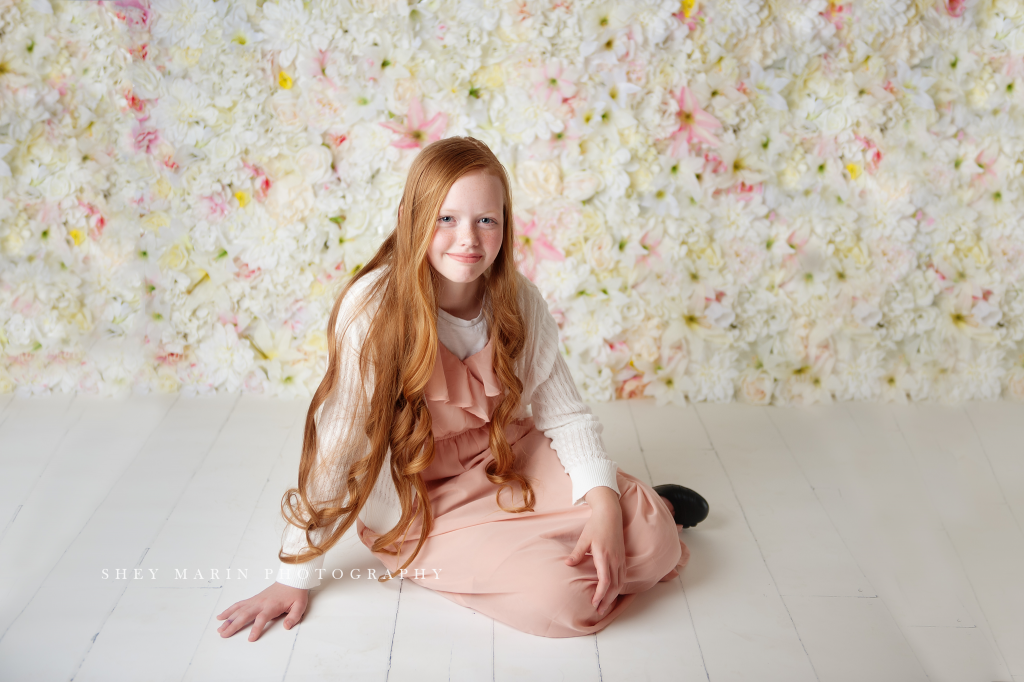
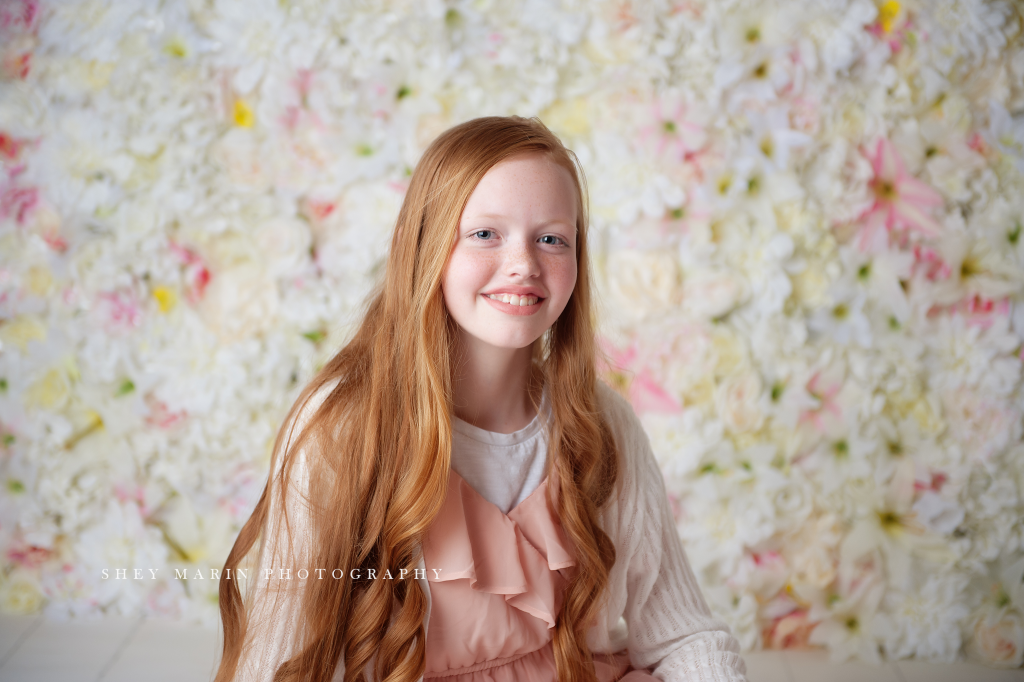
Here it is with an adorable kiddo in front of it – I mean seriously how beautiful is she!
Contact me to book your session!
Modern lifestyle portraiture.
Shey Detterline specializes in newborn, baby, child, maternity and family photography in the Frederick, MD and Washington DC area.
leave a comment!